3D Product Rendering: Types, Use Cases, and a Step-by-Step Workflow
3D product rendering is transforming how we visualize products today. By using advanced computer graphics, it creates lifelike images that look just like real photographs. This technology has become a cornerstone of modern product design and product development, allowing creators to see exactly how a product will look before it ever touches a factory floor.
What Is 3D Product Rendering?
To achieve a photorealistic result, the product design journey follows a precise technical workflow. Each stage adds a new layer of realism:
-
Modeling: This is the foundational step where designers build the 3D geometry or “skeleton” of the object. It defines the exact dimensions and scale.
-
Texturing: Here, the digital structure is given a “skin.” This includes defining surface details like the grain of wood, the polish of chrome, or the weave of a fabric.
-
Lighting: Just like a physical photo studio, virtual light sources are placed to simulate natural environments. This creates the depth, highlights, and shadows that trick the eye into seeing a 3D object.
-
Rendering: The final computational stage where the software processes all the data (structure, texture, and light) to produce the final high-definition image.
Key Technologies and Software in 3D Product Rendering
To bring a product to life, the workflow typically moves through three distinct types of software:
1. CAD (Computer-Aided Design) Software
This is where product design begins. CAD software is used to create the initial, mathematically accurate 3D model. Unlike artistic modeling, CAD focuses on engineering precision, ensuring that the dimensions are exact for manufacturing.
2. Rendering Engines
Once the model is built, it is imported into a rendering engine. These tools are the “cameras” of the digital world. They calculate how light interacts with the textures assigned to the model. High-end engines use Ray Tracing to track the path of individual light rays, creating realistic reflections and shadows.
3. Post-Processing Tools
The raw output from a rendering engine is often “flat” or mathematically perfect. Post-processing software is used to refine the details, adjust color balances, add “depth of field” (blurring the background), and insert small imperfections—like dust or subtle lens flares—that make the image feel like a real photograph.

These technologies, when combined, streamline rendering workflows. They also push creative boundaries in product visualization.
Types of 3D Product Rendering
3D product rendering offers several types to meet diverse needs. Each type serves a distinct purpose in showcasing products.
Key types include:
- Photorealistic Rendering
- Interactive and Real-Time Rendering
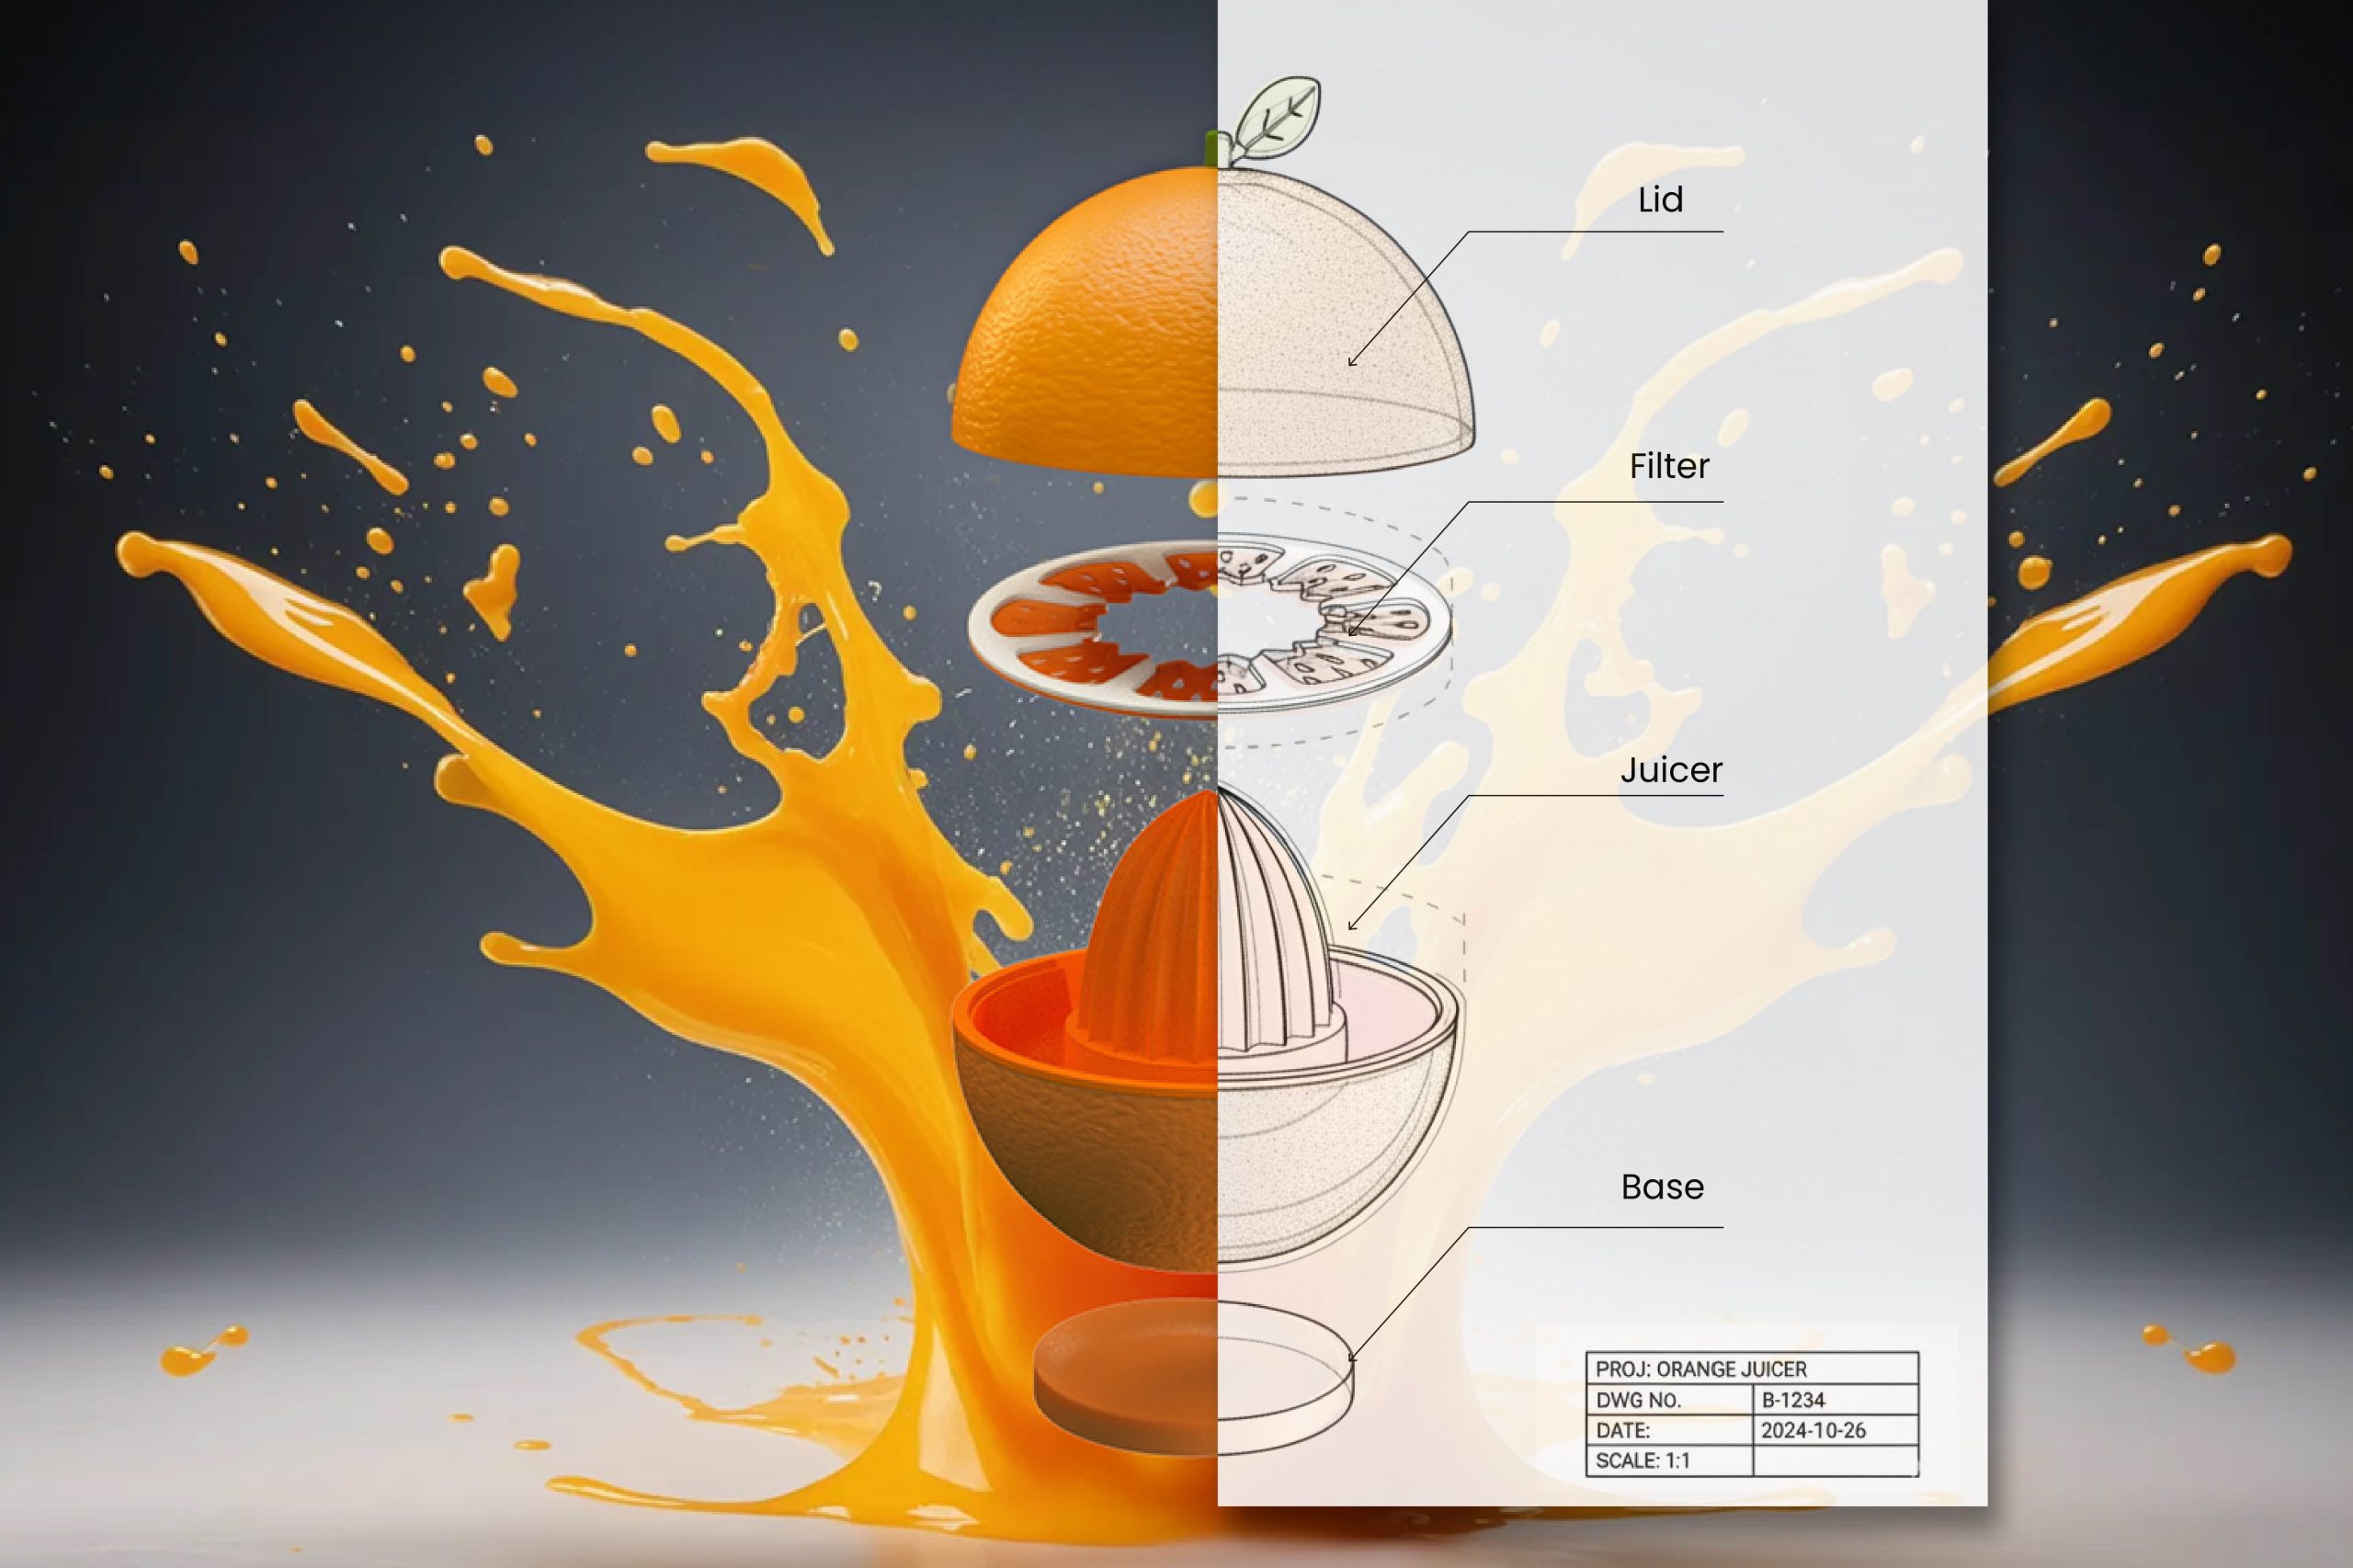
- Exploded Views and Informative Renders
Photorealistic rendering creates images that closely mimic real photos. Interactive rendering allows for user engagement in virtual spaces. Exploded views provide detailed insights into product components.
The choice depends on project goals and desired detail level. Each type brings unique advantages to product visualization.

These rendering types are tools for designers. They aid in communication and decision-making. Selecting the right type can enhance product presentations.
Photorealistic Rendering
Photorealistic rendering replicates real-world visuals. It requires precise lighting and texture application.
This technique is perfect for marketing and advertising. It ensures high-quality, lifelike product visuals.

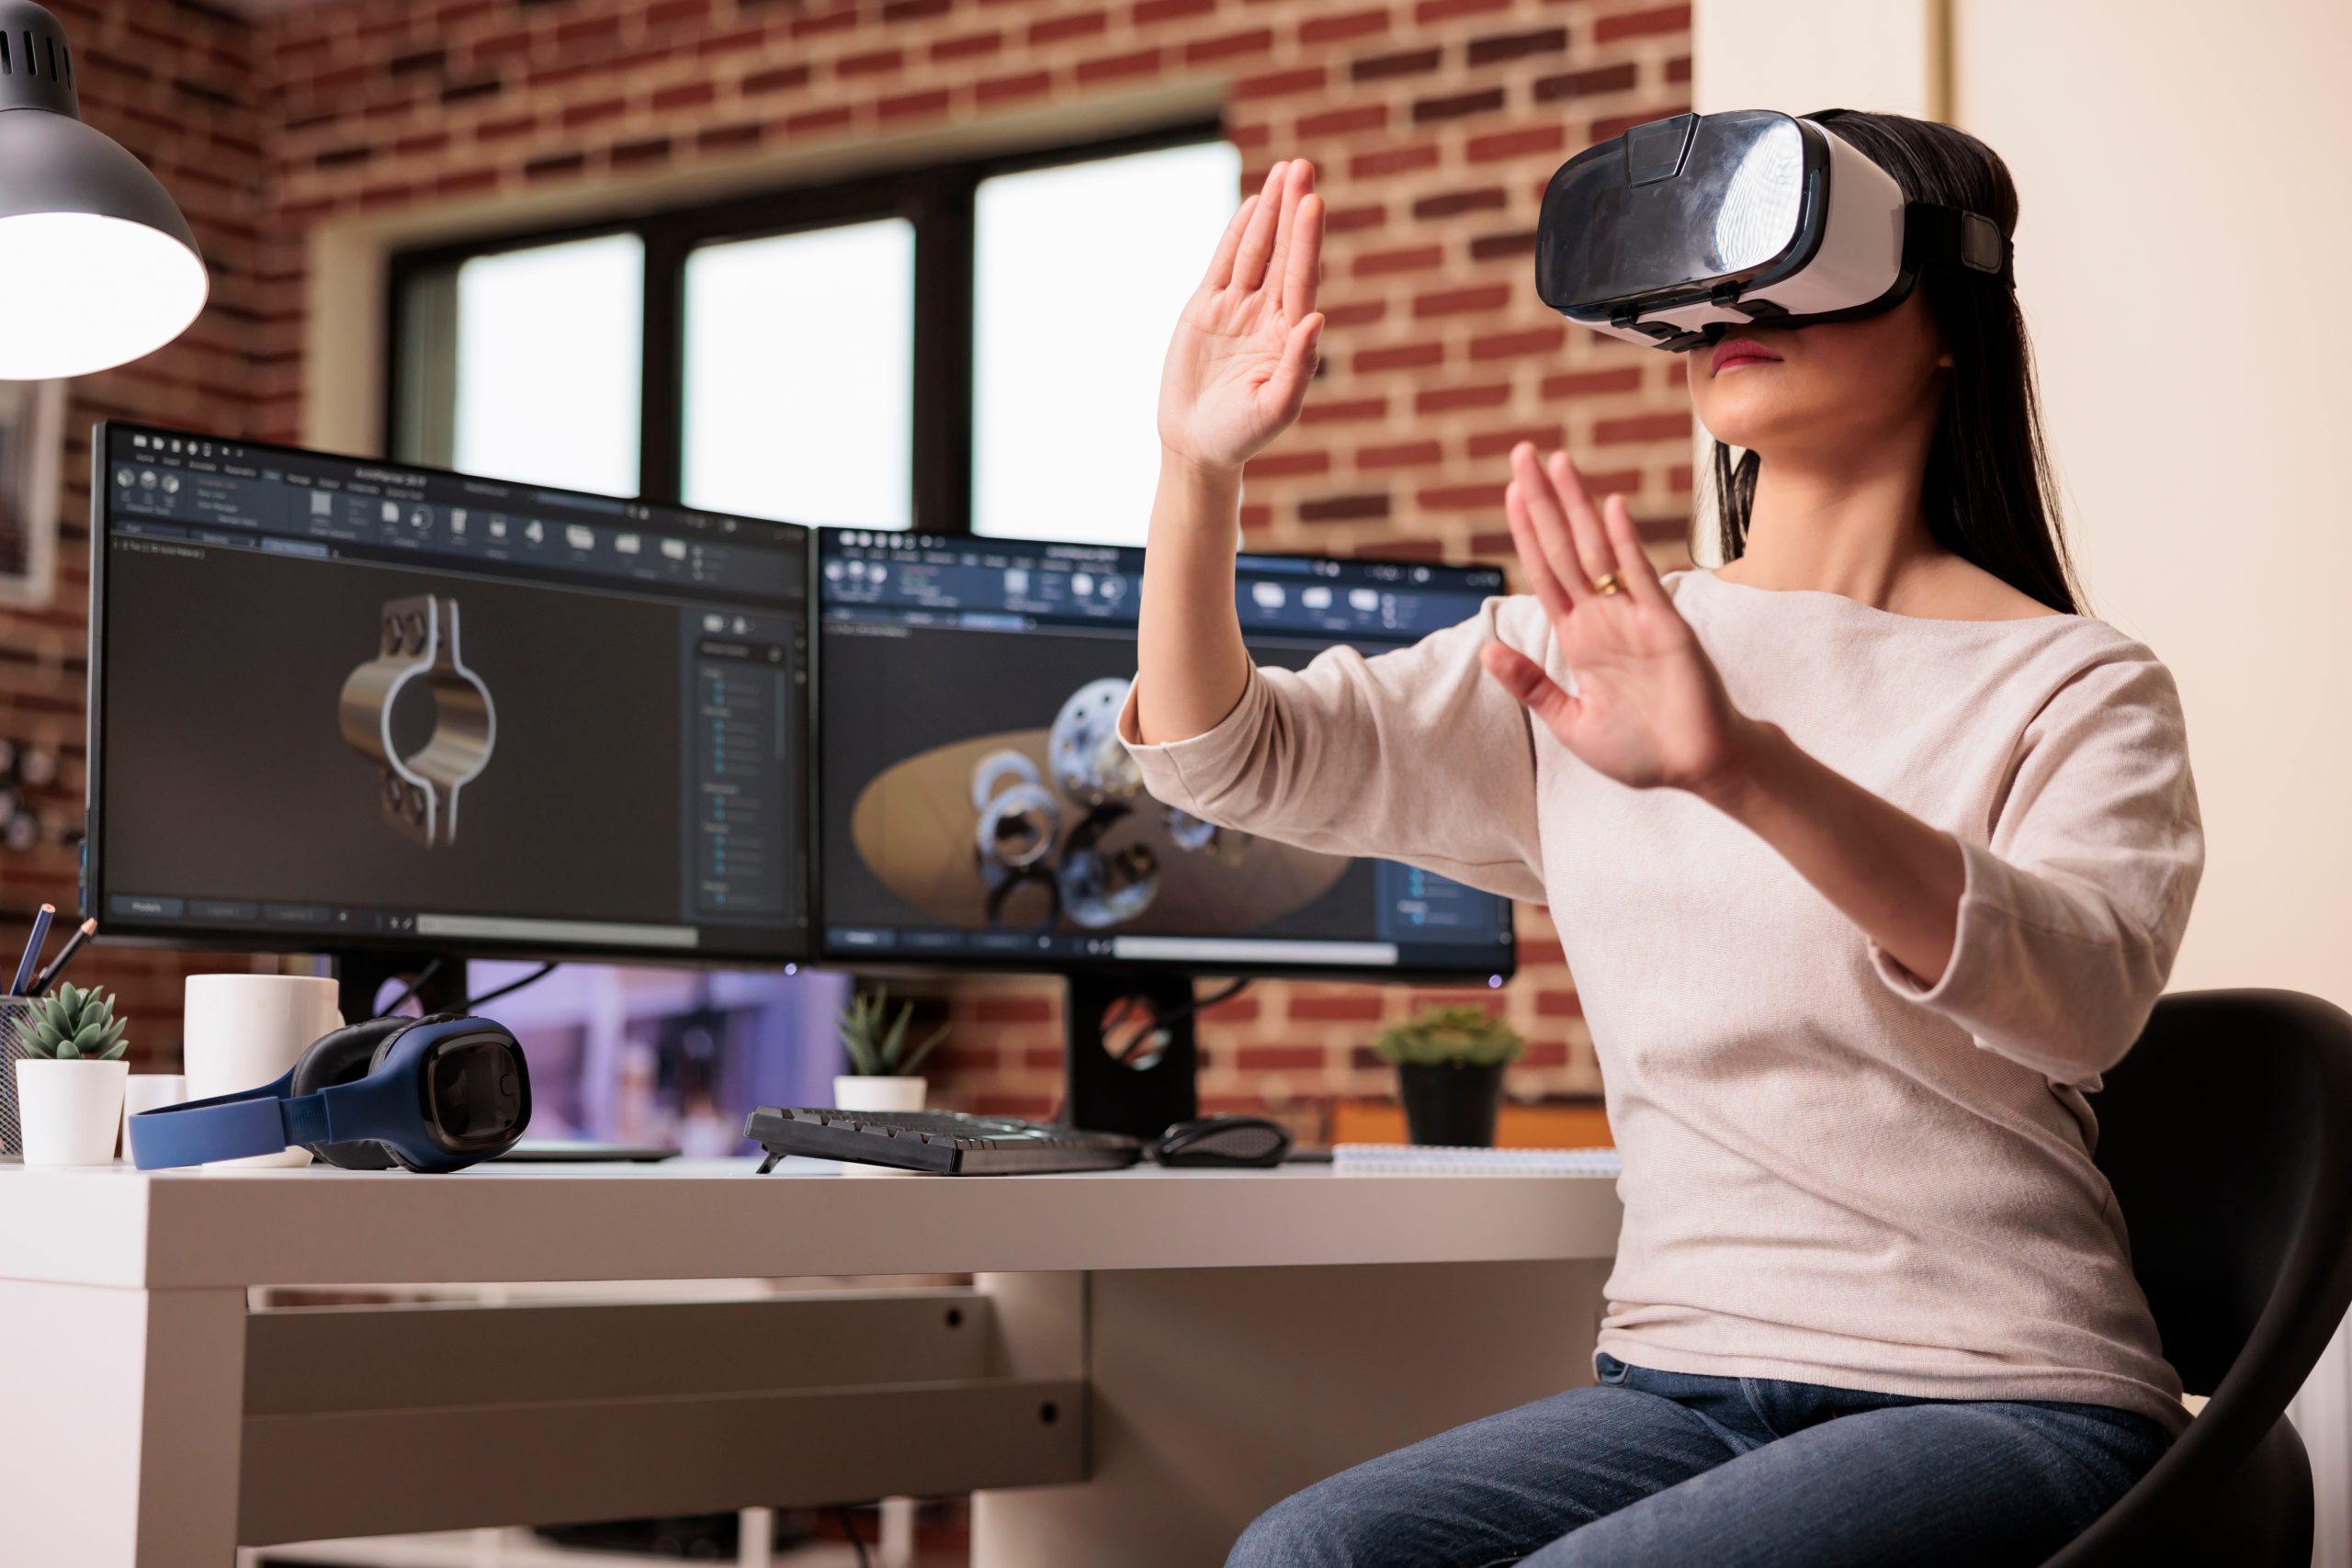
Interactive and Real-Time Rendering
Interactive rendering fosters user interaction with 3D models. It supports virtual reality and augmented reality applications.
This type enhances user experience by allowing real-time engagement. It’s ideal for online demos and presentations.
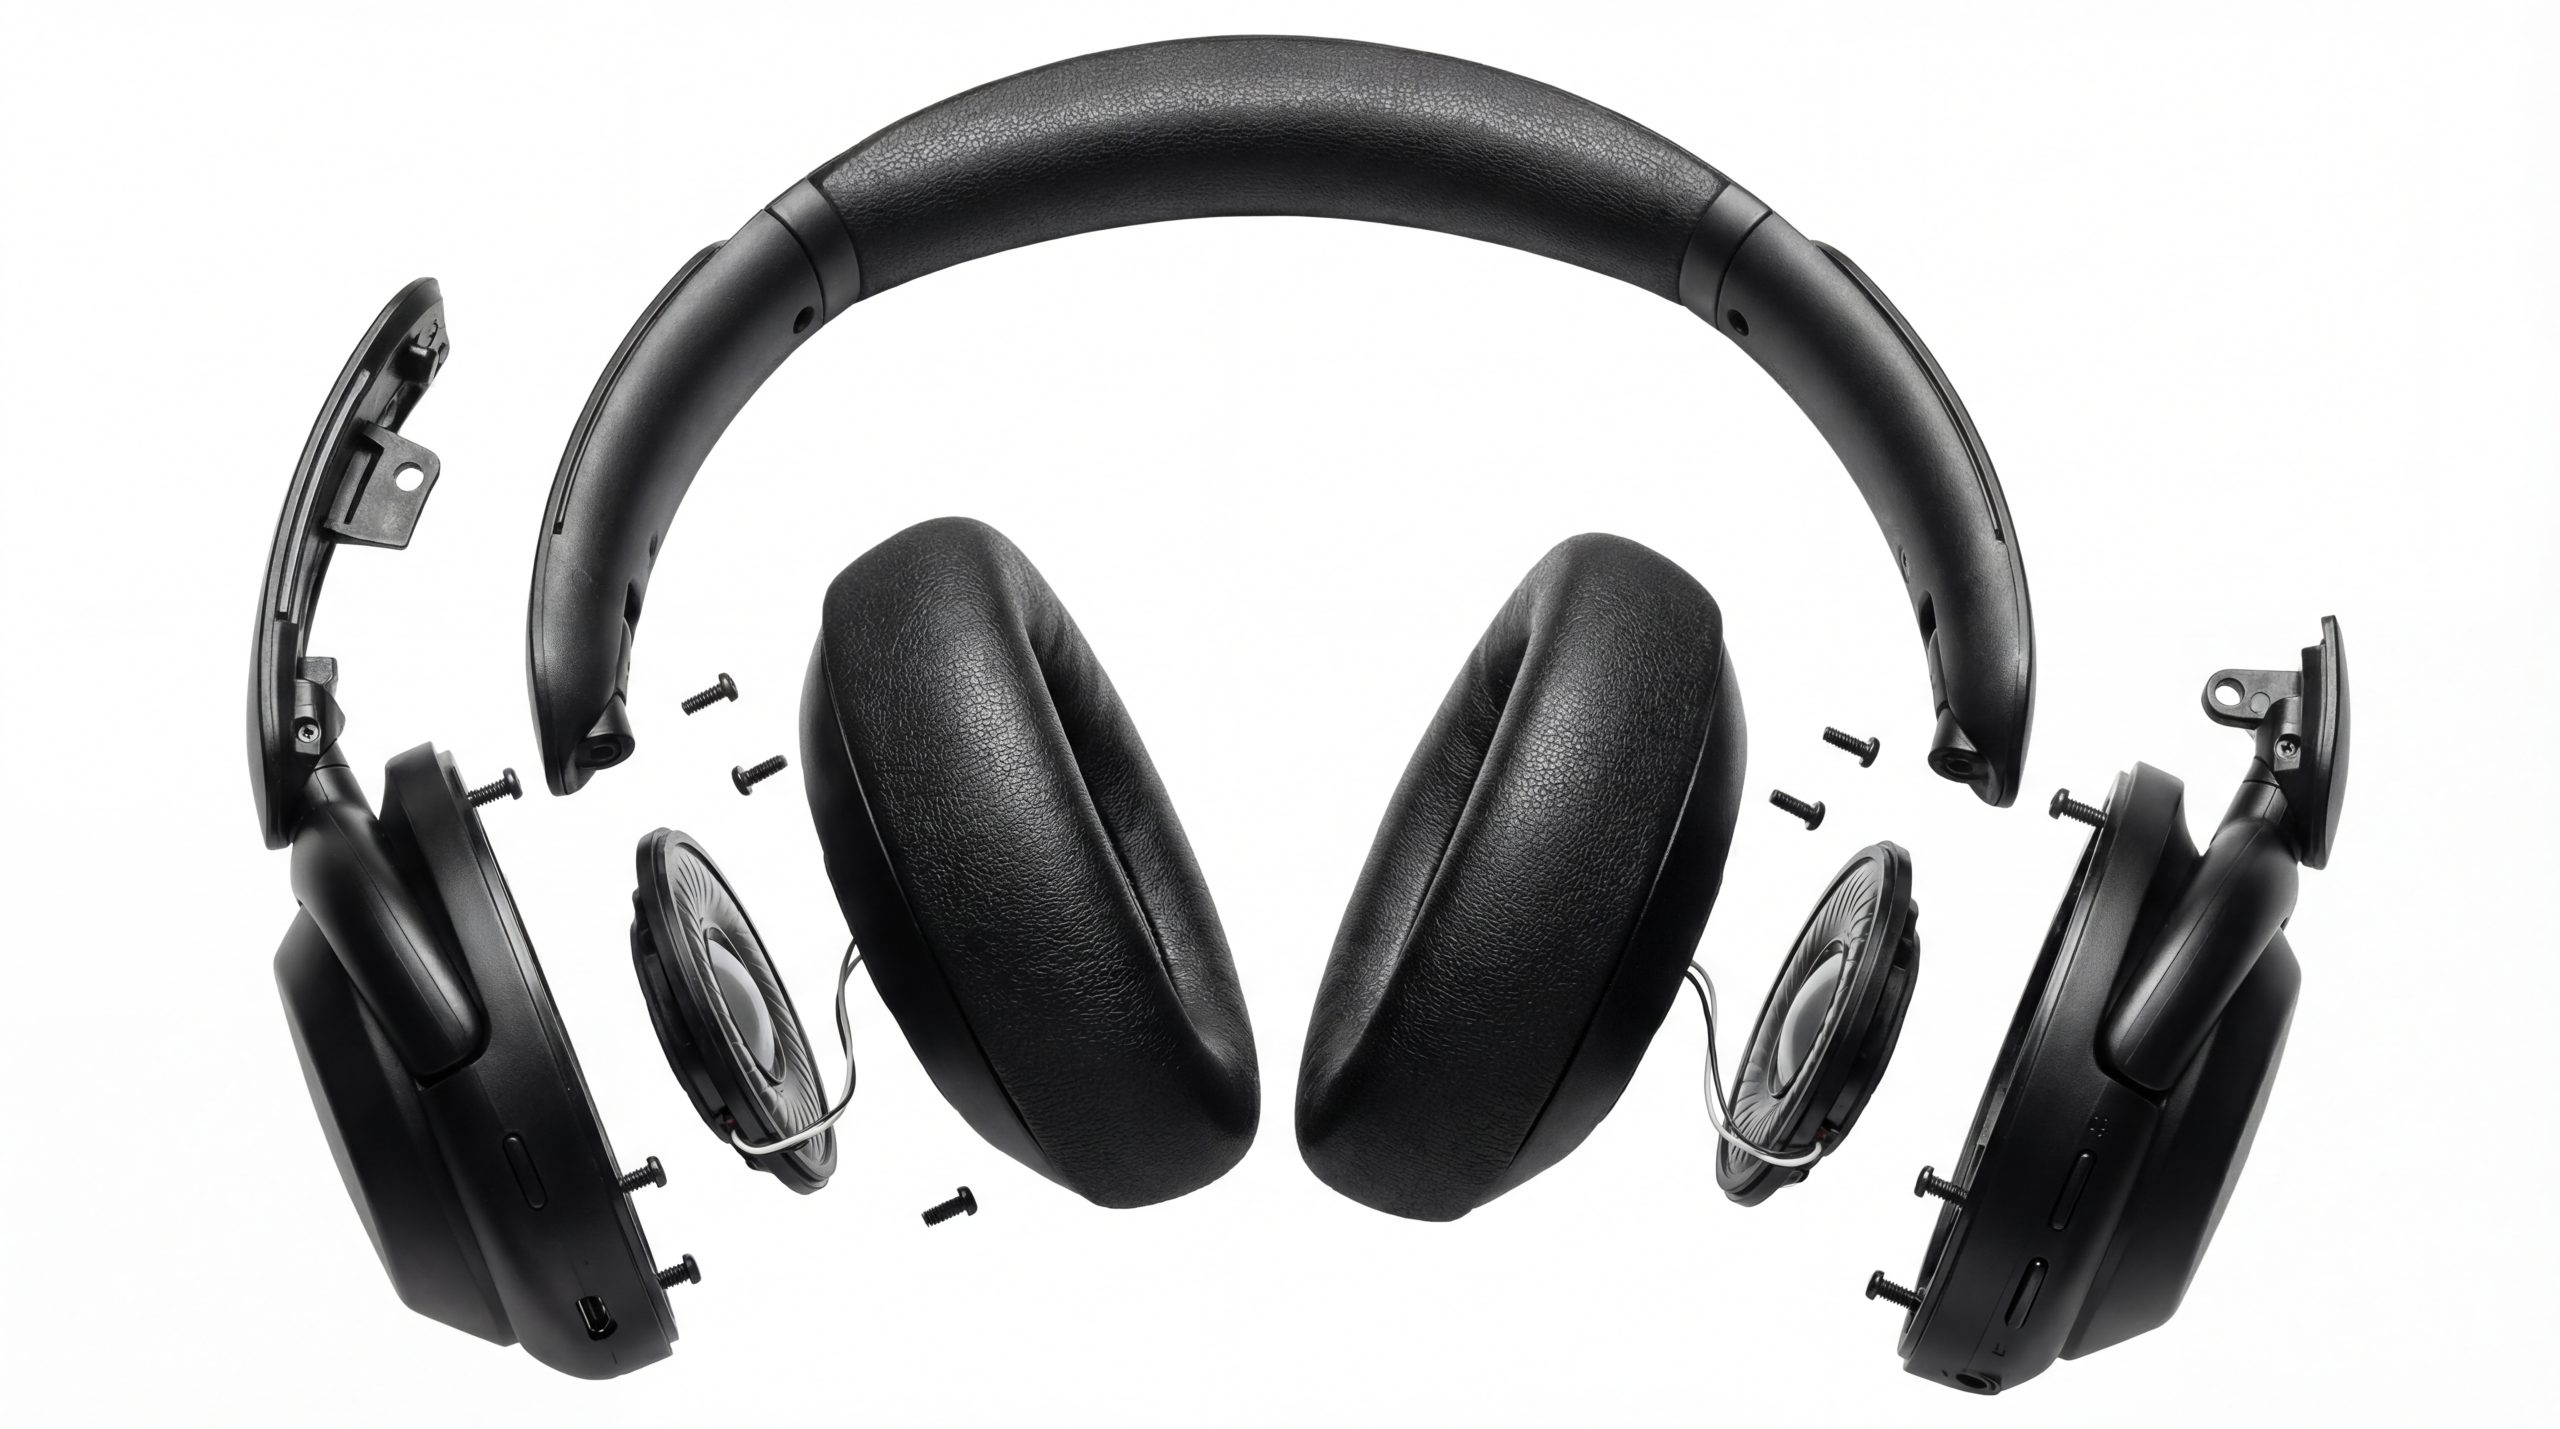
Exploded Views and Informative Renders
Exploded views separate a product into its components. They clarify the assembly and structure of complex items.
Informative renders provide detailed visuals and highlight specific features. This style is excellent for manuals and technical documents.
Applications and Use Cases
3D product rendering finds application in numerous industries. Its versatility supports various phases of product development and marketing.
Key use cases include:
- Product Design and Development
- Prototyping and Product Invention
- Marketing, Advertising, and E-commerce
In product design, 3D rendering aids in visualizing concepts. It simplifies communication between designers and stakeholders.
Prototyping benefits from virtual models. This approach minimizes material waste and speeds up iteration.
In marketing, high-quality renderings attract customers. They enhance presentations and digital advertising materials.

Rendering technology boosts creativity. It opens new possibilities in design and user engagement. These applications pave the way for efficient and innovative product solutions.

Product Design and Development
In product design and development, 3D rendering transforms ideas into visuals. It bridges gaps between initial sketches and final products.
Designers use this technology to try materials, colors, and shapes. This experimentation leads to well-informed design choices.
Prototyping and Product Invention
3D rendering enhances prototyping and product invention. By creating virtual prototypes, it reduces costs and testing time.
Inventors can refine designs before manufacturing. This process prevents errors and aids in innovation.
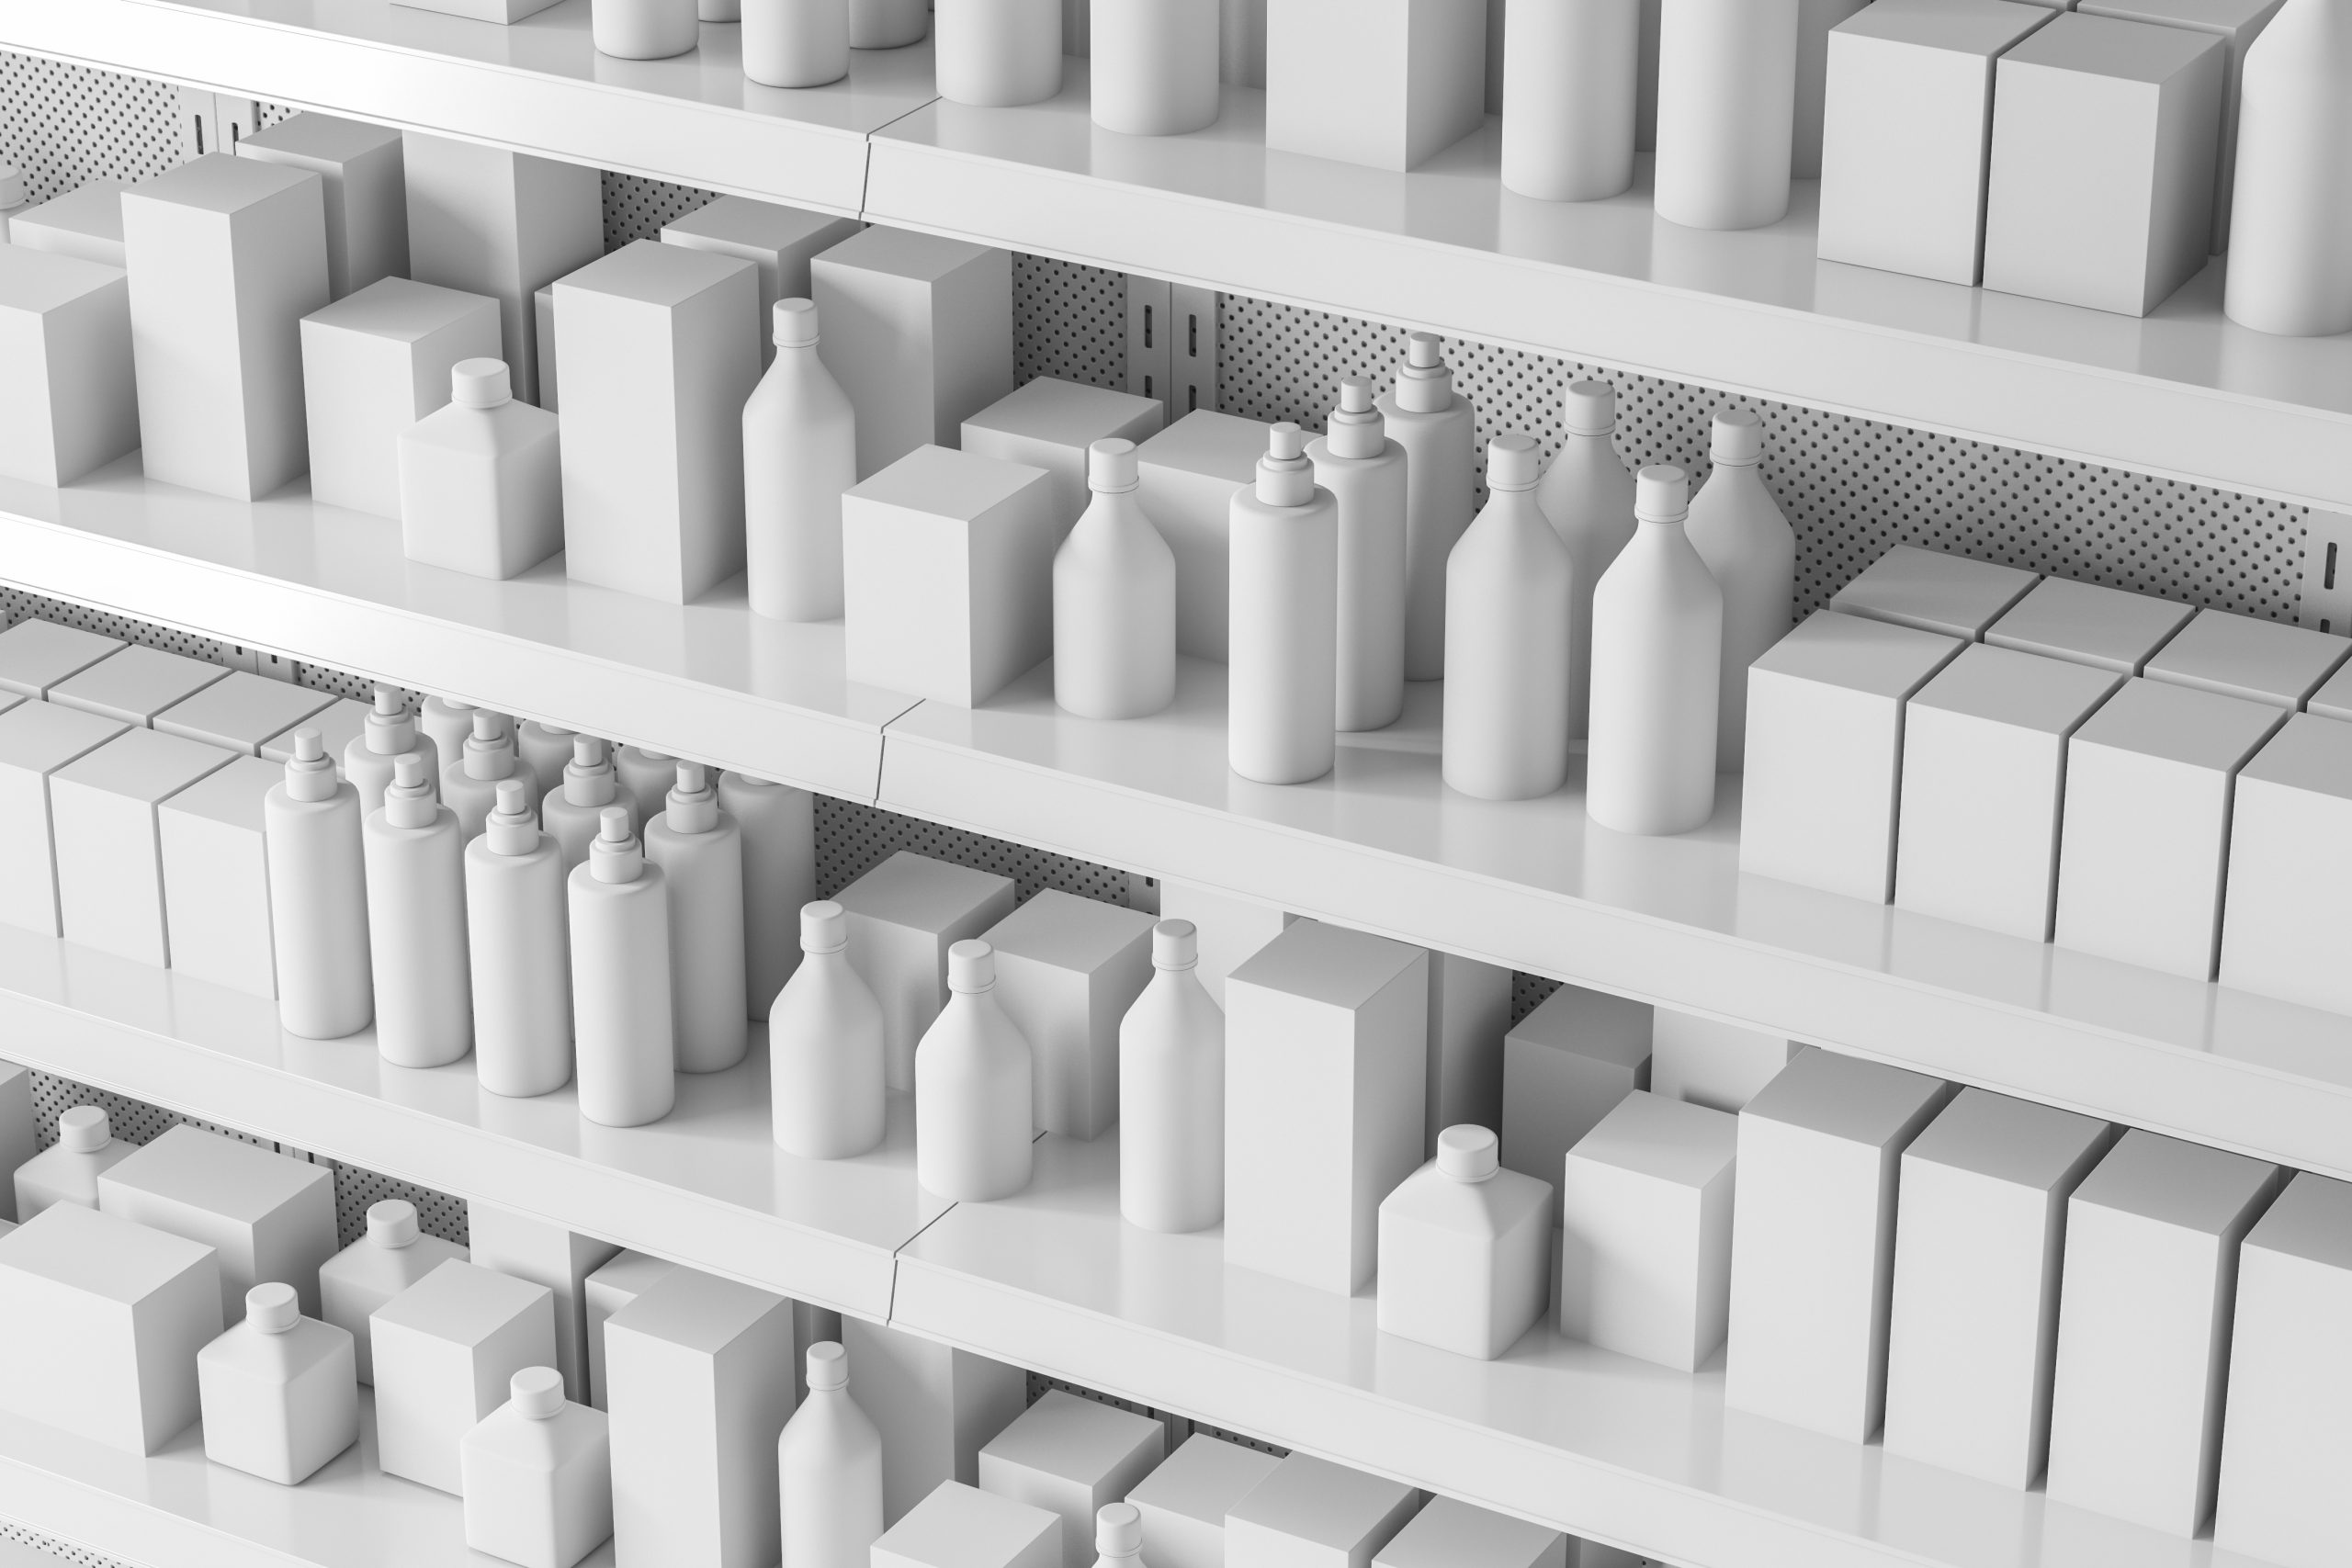
Marketing, Advertising, and E-commerce
3D rendering excels in marketing, offering compelling visuals. High-resolution images captivate audiences in ads and online shops.
These visuals help explain product features. They significantly boost online sales and customer engagement.

Step-by-Step Workflow for Creating Photorealistic Product Visuals
Creating photorealistic visuals involves several distinct steps. Each step plays a crucial role in achieving life-like imagery.
First, concept development takes place. Designers outline the main features and aesthetics of the product.
Next is the 3D modeling stage. Here, digital artists construct the product’s virtual model with precise details.
Following this, texturing adds realism. Artists apply textures that mimic real materials and surfaces.
Lighting setup is crucial. It mimics natural and artificial lighting to enhance the model’s appearance.
Then, rendering brings it all together. Software generates the image, considering all previous elements.
Post-processing fine-tunes the image. Adjustments in color and contrast finalize the visual.
Steps involved in creating photorealistic visuals:
- Concept development
- 3D modeling
- Texturing
- Lighting setup
- Rendering
- Post-processing
Each step demands attention to detail and expertise.
Talented artists and advanced tools ensure high-quality results. The workflow seamlessly combines technical and artistic processes, leading to stunning product visuals.
Benefits of 3D Product Rendering in Product Development
3D product rendering offers significant advantages in development. It cuts both time and costs effectively.
By visualizing designs early, issues are identified and resolved quickly. This streamlines the design process.
The benefits include:
- Enhanced visualization before prototyping
- Swift iteration and feedback cycles
- Reduced need for physical prototypes
High-quality renders improve communication between teams. This leads to better collaboration and understanding.
Additionally, virtual testing is made possible. Designs can be evaluated under simulated conditions, increasing efficiency.
Conclusion
3D product rendering plays a crucial role in modern design. It offers a range of benefits from visual accuracy to cost savings.
By integrating advanced rendering techniques, product development becomes more innovative and efficient. This technology continues to push the boundaries of design and visualization. Embracing it is key to staying competitive.